SCIENCE AT HOME |
|
Welcome to our Science at Home page.
Each week there will be a new experiment perfect for the whole family to do at home.
It's Wellbeing week so why not try an experiment that will make us all feel good!
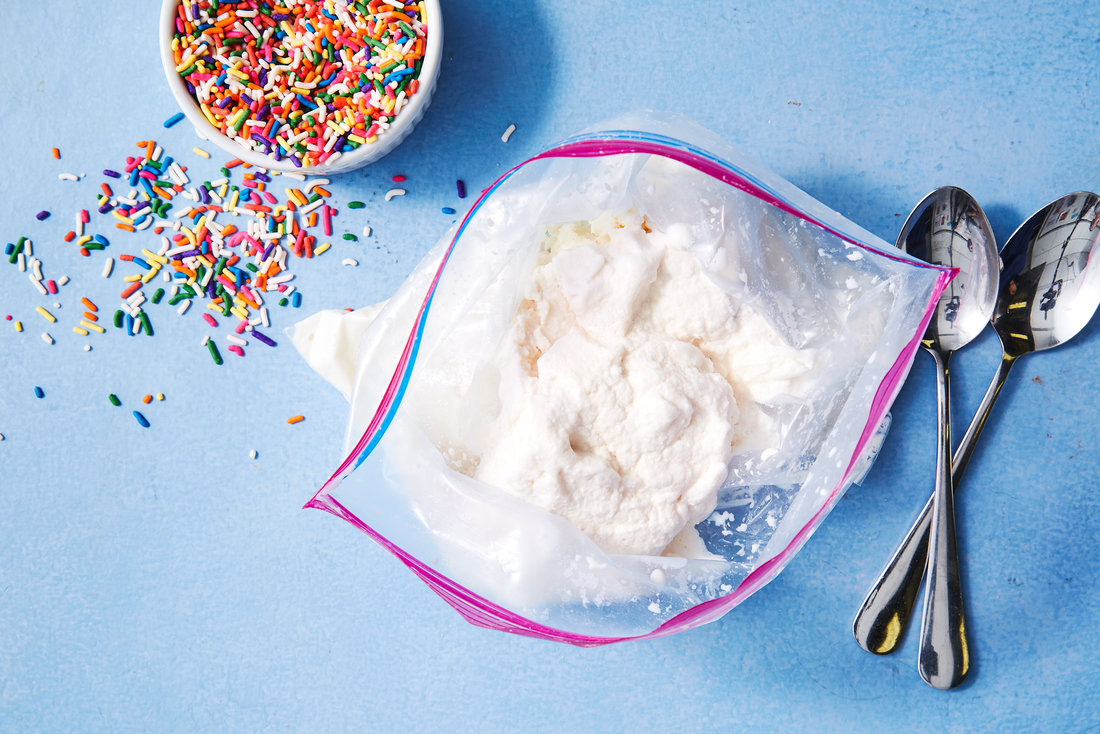
Ice-Cream in a Bag
|
Materials/Ingredients
|
|
Instructions:
- Put the milk, cream, vanilla, food coloring, and sugar into the SMALL zip-bag and zip it shut (Make sure it is closed completely)
- Put a couple of handfuls of ice into the large bag and the cover the ice with a small handful of salt. Put the small bag with your ingredients into the larger bag.
- Add some more ice and then some more salt. Keep adding salt and ice until the bag is almost full.
- Seal the bag fully and then carefully hold opposite sides of the bag and shake the bag back and forth (like you're steering a car) for about 5-8 minutes.
- Open the larger bag and take out the smaller bag – it should be full of ice cream! Rinse off the bag under running water to remove any salt that may be near the opening of the bag.
- Open and enjoy!
Here comes the Science bit.....
When you added salt to the ice, the chemistry between the two forced the ice to melt. Before the ice could melt though, it needed to borrow heat from objects that surround it. This is called an ENDOTHERMIC process. Since your ingredients are not as cold as the ice, it borrowed heat from your ingredients making them colder! When they get colder, they freeze up into ice cream. Yum!
When you added salt to the ice, the chemistry between the two forced the ice to melt. Before the ice could melt though, it needed to borrow heat from objects that surround it. This is called an ENDOTHERMIC process. Since your ingredients are not as cold as the ice, it borrowed heat from your ingredients making them colder! When they get colder, they freeze up into ice cream. Yum!
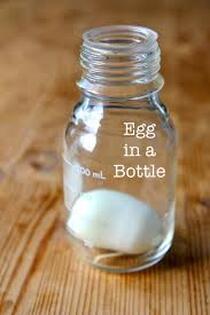
Egg in a Bottle
|
Materials
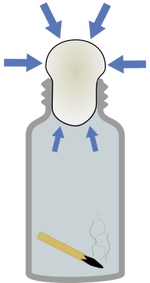
Instructions Before you begin try and get the hard boiled egg into the bottle without breaking the egg. It seems impossible, right? Wrong, here's how to do it!
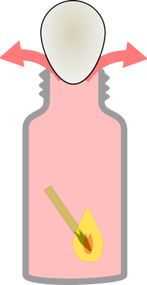
The Eggs...planation! The lit match heats the air inside the bottle. When air is heated it expands and takes up more room. As the heated air expands, some of it escapes out of the bottle. When the matches go out, the air inside the bottle cools and contracts, which takes up less room. This creates a lower pressure inside the bottle than outside the bottle. The greater pressure outside the bottle forces the egg to get sucked into the bottle. |
Like to know more about air pressure? Click on the PowerPoint below.
|
How do I get the egg out again?

Though there is always the simple mash it up and take it out in pieces option, there is a much more elegant and scientific strategy. Hold the bottle upside down so the egg falls over the neck, then blow into the bottle as hard as you can, the egg should then be pushed out by the higher pressure air inside the bottle, so you can still eat it for your tea.
Oobleck
|
You will need:
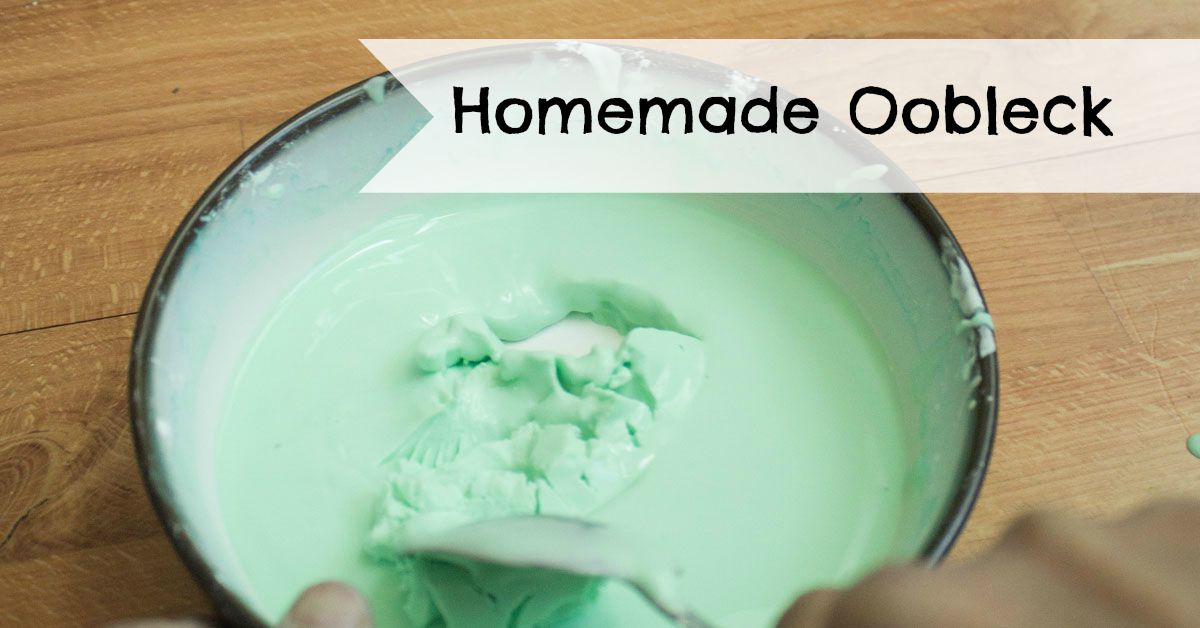
Instructions: 1. Place the cornflour in a large mixing bowl. 2. Slowly pour in the water and mix thoroughly with your hands. You could add a few drops of food colouring if you wish to make it colourful. 3. Keep mixing until the water and cornflour are fully blended together You can add more cornflour to make the Oobleck thicker or more water to make it runnier. Now have fun!
|
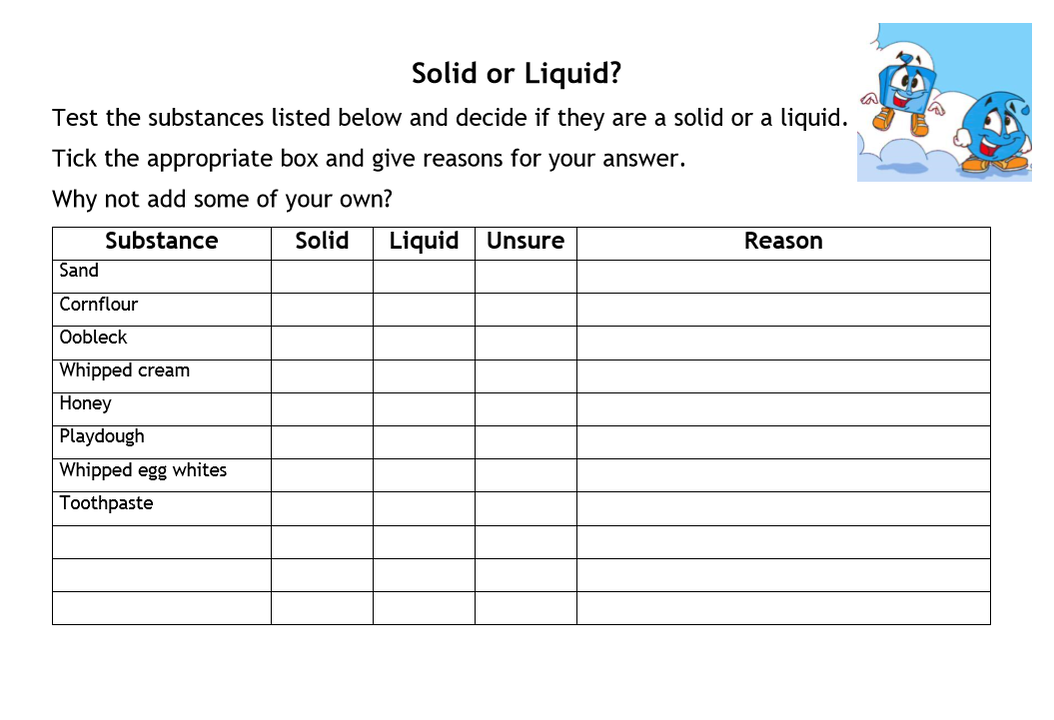
Complete the table below to test if the substances are solid or liquid!
|
Here comes the Science bit.....
Oobleck is a non-newtonian fluid. That means, it acts like a liquid when being poured, but like a solid when a force is acting on it. You can grab it and it will feel like a solid but then it will ooze out of your hands like a liquid. Make enough Oobleck and you can even walk on it!
Oobleck gets its name from the Dr. Seuss book Bartholomew and the Oobleck where a gooey green substance, Oobleck, fell from the sky and wreaked havoc in the kingdom.
Why not have a listen to the book Bartholomew and the OOBLECK by Dr. Seuss. Find out where Oobleck got its name.
Walking Water
Equipment:
- 5 identical glasses
- Kitchen Paper
- Food Colouring - red, yellow and blue ( you can use just red and yellow - reduce glass to 3)
|
Method:
|
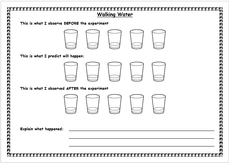
Recreate and complete this experiment sheet before you begin. Click image below.

|
Here comes the Science bit.....
The colored water travels up the kitchen paper by a process called capillary action. Capillary action is the ability of a liquid to flow upward, against gravity, in narrow spaces. This is the same thing that helps water climb from a plant’s roots to the leaves in the tree tops.
Kitchen Paper, and all paper products, are made from fibers found in plants called cellulose. In this demonstration, the water flowed upwards through the tiny gaps between the cellulose fibers. The gaps in the kitchen paper acted like capillary tubes, pulling the water upwards.
The water is able to defy gravity as it travels upward due to the attractive forces between the water and the cellulose fibers.

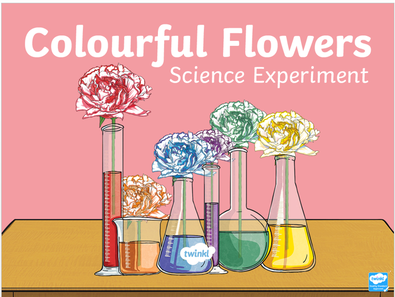
Why not try this experiment which shows Capillary Action in plants?